Tunnel – Configuration Parameters Related with COM2: “COMM2_”
Configuration parameters starting with the “COMM2_” prefix references the secondary serial port on MTX-Terminal modem. Check the hardware manual of the MTX device to know which is the secondary serial port. This port is normally used to send AT commands to the terminal modem, so you can request network coverage or another MTX-Tunnel parameter configuration, […]
Tunnel – Configuration Parameters Related with COM1: “COMM_”
Configuration parameters starting with the “COMM_” prefix references the main serial port on the MTX-Terminal modem. Check the hardware manual of the MTX device to know which is the main serial port. This is the main port used to control and connect your device to and therefore needs to have same configuration, like baud rate. […]
Tunnel – General Configuration parameters “MTX_”
All general configuration parameter starts with “MTX_” prefix string. MTX_PIN, MTX_PIN2 Description: PIN secure number of SIM inserted. Possible values: 16 characters maximum Default value: 0000 Additional notes: In case of using a SIM card with no PIN number, MTX_PIN security code does not need any value The MTX_PIN2 parameter is for exclusive use for models […]
Tunnel – Special AT Commands (API)
MTX-Tunnel needs special proprietary AT commands to allow MTX-Tunnel to be controlled by a third-party application, using a local serial port or 2G/3G/4G connection remotely. Please remember you can use one or two of the COM serial ports available. You can use them locally or you can use them remotely with IP (webserver, Telnet, MQTT, […]
Tunnel – Standard AT commands supported
MTX-Tunnel runs on MTX-Terminal modems. Internally there is a Cinterion 2G/3G/4G core, EHS6 for 3G models and ELS61 for 4G models. Those modules use the AT command set, some of them are standardized and others are Cinterion proprietary. MTX-Tunnel can run just a few of them. Those are: AT > OK ATI > Returns module […]
Tunnel – AT Commands User Procedure
In main applications, MTX-Tunnel is used as a simple GPRS-Serial gateway. But sometimes, MTX-Tunnel needs to be integrated into a third-party system application which needs to access the modem remotely to find out a digital input value, network coverage, to check incoming SMS or an important action like remotely or locally changing a configuration value […]
Tunnel – Telnet Service
MTX-Tunnel features a small Telnet server. If enabled, you can remotely access MTX-Tunnel with any Telnet client. It is recommended to use Telnet to access MTX-Tunnel remotely; it is faster and effortless compared to WebServer. To access MTX-Tunnel Telnet, open the MSDos console in your PC and specify the IP address obtained by MTX-Tunnel. DNS […]
Tunnel – Webserver Service
With MTX-TUNNEL version 5.0 WebServer is included. If enabled, you will be able to remotely access the GSM modem terminal with MTX-TUNNEL if your PC connected to the Internet. To access WebServer, open an Internet browser –we recommend Microsoft Internet Explorer-on any PC and introduce the MTX-Tunnel IP address or DNS if the DynDNS feature is activated. […]
Tunnel – Configuration Procedure
In this section you will create your first GPS-serial tunnel and we will guide you through every step of the procedure. You will create a TCP server tunnel, connect from your PC and transmit/receive data. You Need: PC with Windows 2000 or XP operating system possibly with an RS232 serial port. If you have a PC […]
Tunnel – Basic Concepts
If still you have doubts about the new MTX-Tunnel please read the following FAQ section: What is the MTX-Tunnel? The MTX-Tunnel is an embedded software application that you can order from your distributor which is already installed into the MTX modems family. What is the MTX-Tunnel for? The MTX-Tunnel can be mainly used to create a transparent […]
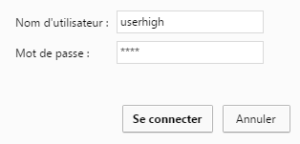
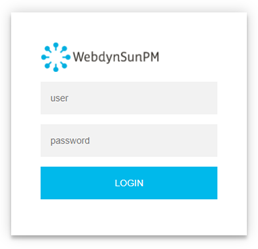 Les accès par défaut sont :
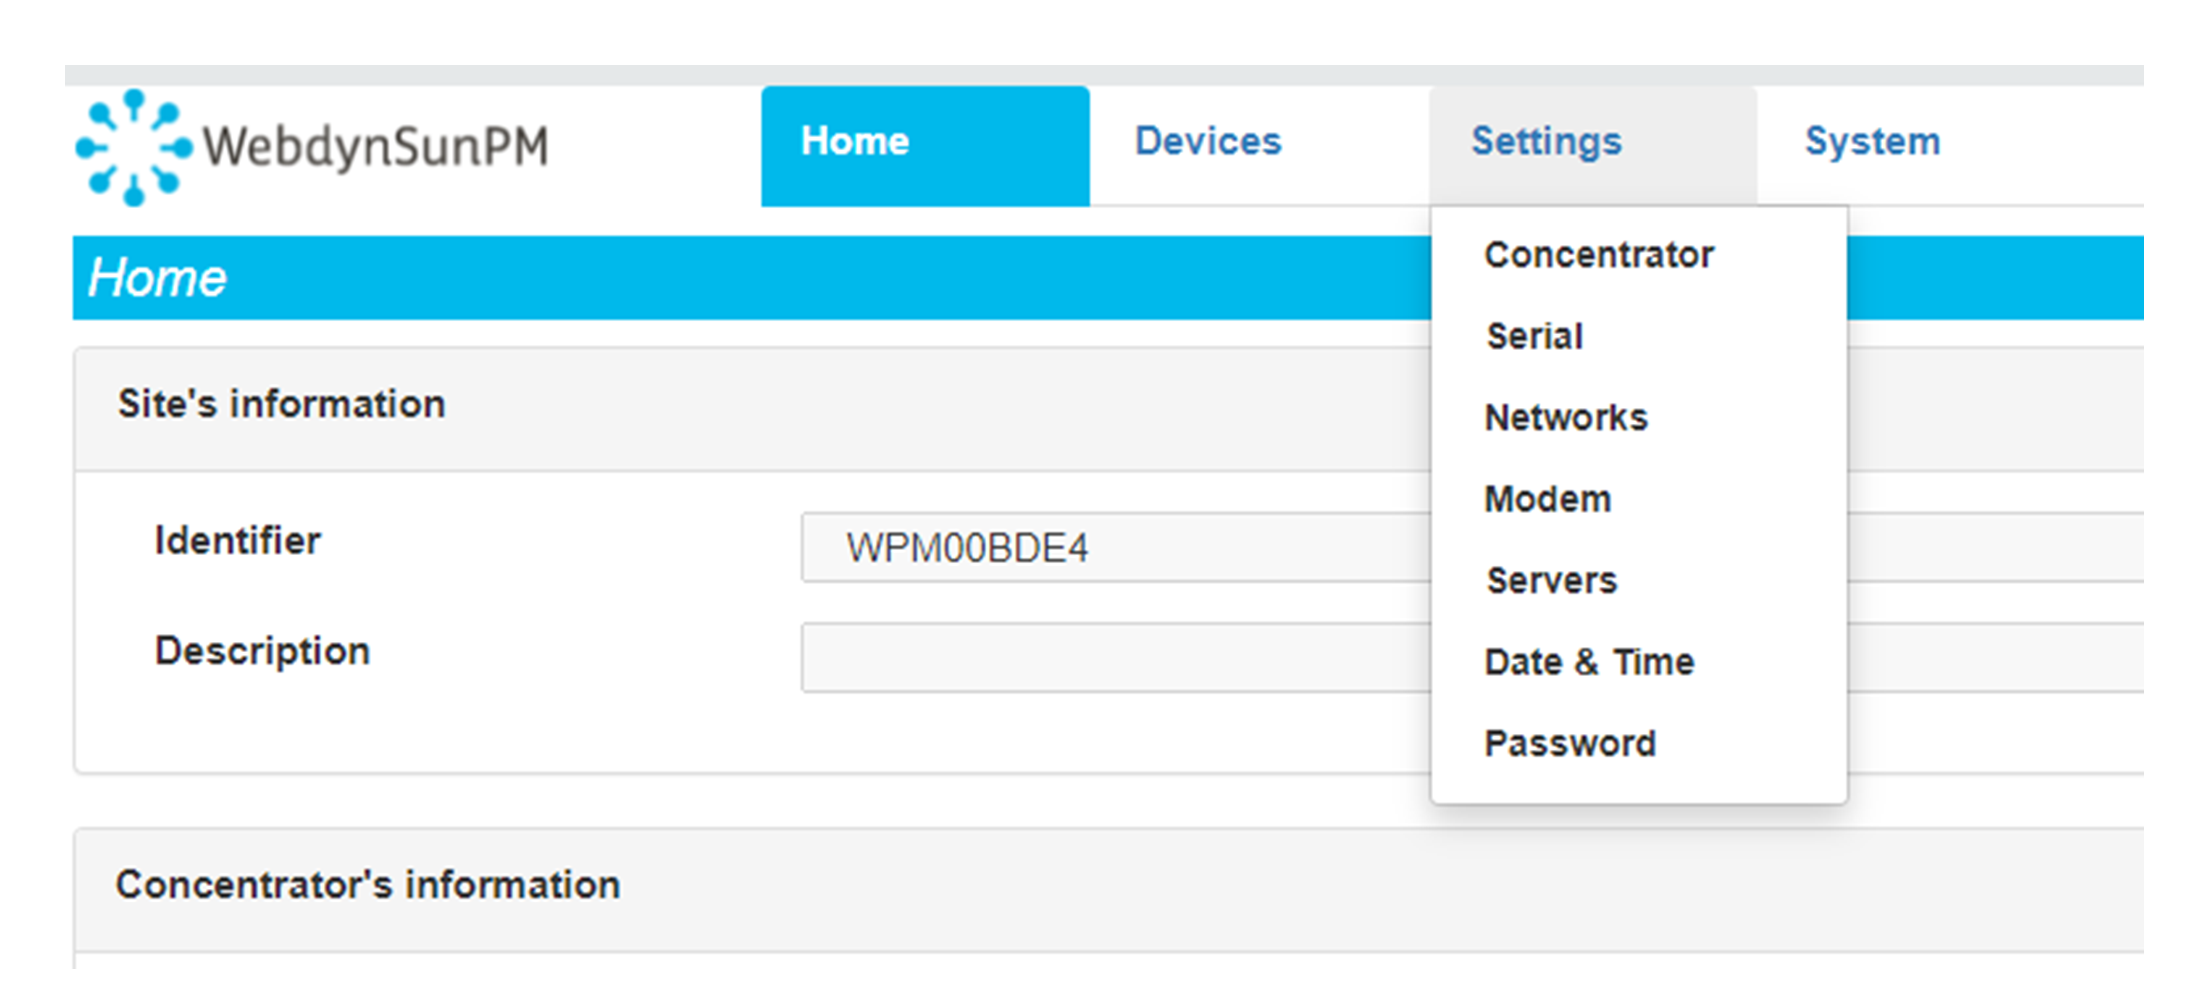 Saisir le mode de connexion « Ethernet » ou « modem » :
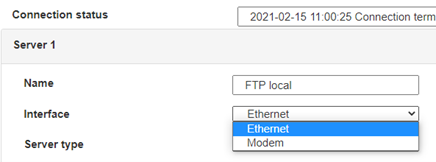 Dans le cas d’une configuration par Ethernet, veiller à ce que les paramètres IP soient compatibles avec l’accès au serveur d’après la configuration du réseau local du concentrateur. Dans le cas d’une connexion par Ethernet, la configuration doit être compatible avec la topologie du réseau local du concentrateur afin qu’il puisse accéder aux serveurs. Cette configuration se fait via la page de configuration « Networks » (voir chapitre 3.2.2.3 : « Réseaux (Networks) »).
Dans le cas d’une connexion par modem, la configuration du modem doit être correcte avant de pouvoir effectuer une connexion. Cette configuration se fait dans la page de configuration « Modem » (voir chapitre 3.2.2.4 : « Modem »).
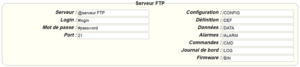
Les paramètres des serveurs à configurer au minimum sont les suivants :
Dans le cas d’une configuration par Ethernet, veiller à ce que les paramètres IP soient compatibles avec l’accès au serveur d’après la configuration du réseau local du concentrateur. Dans le cas d’une connexion par Ethernet, la configuration doit être compatible avec la topologie du réseau local du concentrateur afin qu’il puisse accéder aux serveurs. Cette configuration se fait via la page de configuration « Networks » (voir chapitre 3.2.2.3 : « Réseaux (Networks) »).
Dans le cas d’une connexion par modem, la configuration du modem doit être correcte avant de pouvoir effectuer une connexion. Cette configuration se fait dans la page de configuration « Modem » (voir chapitre 3.2.2.4 : « Modem »).
Les paramètres des serveurs à configurer au minimum sont les suivants :
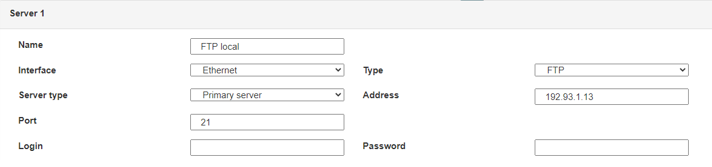 Il faut donc configurer les champs : « Interface », « Type », « Server type », « Address », « Port », « Login » et « Password ».
Les autres champs peuvent être laissés aux valeurs par défaut à condition que les répertoires aient été créés correctement auparavant. Voir chapitre 3.1.2 : « Fichiers de configuration » pour plus de détails.
Il faut donc configurer les champs : « Interface », « Type », « Server type », « Address », « Port », « Login » et « Password ».
Les autres champs peuvent être laissés aux valeurs par défaut à condition que les répertoires aient été créés correctement auparavant. Voir chapitre 3.1.2 : « Fichiers de configuration » pour plus de détails.




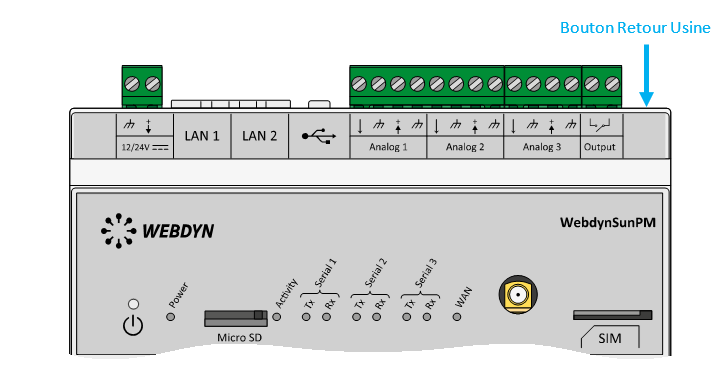 Attendre. Le concentrateur va redémarrer avec sa configuration usine.