Titan – VPN: OpenVPN EasyLink
With OpenVPN EasyLink it is possible to establish an OpenVPN communication in a very simple and comfortable way in situations where it is necessary to perform a specific maintenance of a remote equipment. In addition to its simplicity, it is very useful because it works regardless of whether the SIM cards used in remote Titan routers provide a […]
Titan – Passwords
Exiten dos nombres de usuario para poder acceder a la configuración del router. El usuario “admin”, desde el que tendrá acceso a toda la configuración del router, y el usuario “user” desde el cual podrá tener acceso a las configuraciones que seleccione (muy útil si personaliza el router con sus logos). Desde esta sección puede […]
Titan – Configuration: Serial Settings
The MTX-Router-Titan II, MTX-Router-Titan and MTX-Router-Titan mini devices have several serial ports and USB. Using these, we can create serial/3G, USB/3G or serial/CSD gateways to remotely control serial devices. The number of RS232 or RS485 serial ports will depend on the MTX-Router-Titan model used. Baudrate: specifies the serial port velocity (115200, … , 300) Data bits: specifies the number of data […]
Titan – Configuration: Firewall
Section to configure the security aspects of the router. Firewall: NAT This section will outline from where we can map ports to access, from external devices, internal devices that are connected to the router. For example, if there is an IP camera connected to the MTX-Router-Titan-3G\’s Ethernet port and we wish to have access from an outside […]
Titan – Configuration: WiFi
The “WiFi” configuration section refers to the WiFi network configuration. By using a WiFi connection, we can provide WiFi enabled devices with access to the Internet. WiFi: Basic Settings This section explains the basic configuration parameters for a WiFi connection. Enabled: This parameter activates the WiFi interface for the Titan router WiFi mode: this parameter allows […]
Titan – Configuration: LAN
La sección de configuración “LAN” hace referencia a la parte de configuración de red Ethernet. LAN: Basic Settings Esta sección permite configurar los parámetros básicos de red de la conexión Ethernet. Este menú es diferente en función de si el router Titan cuenta con 1 puerto Ethernet o 2 puertos Ethernet. Routers Titan con 1 […]
Titan – Configuration: WAN
The WAN section refers to everything related to the 2G/3G route configuration, from the connection status, network configuration parameters and supervision of the connection. WAN: Status This screen shows the general status of the router: Public IP: WAN IP address (address of the GPRS/3G connection) if available GSM Module: indicates the manufacturer and the router’s internal […]
Titan – Step-by-Step Configuration
As previously mentioned, the configuration of the MTX-Router-Titan II, MTX-Router-Titan and MTX-Router-Titan mini devices is done using a web environment. What is needed? A PC with a web browser (Chrome, IExplorer, Firefox, …) and Ethernet port An Ethernet cable to connect the PC with the MTX device Steps to access the configuration environment: Connect the Ethernet cable to the […]
Titan – FAQs and Basic Concepts
If we still have doubts after reading the previous list of benefits, we recommend reading the following FAQs where everything we need to know about the main characteristics of the MTX-Router-Titan II, MTX-Router-Titan and MTX-Router-Titan mini devices is explained in a detailed manner. What is the physical structure of the MTX-Router-Titan II, MTX-Router-Titan and MTX-Router-Titan mini devices like? Below we have an image of the MTX-Router-Titan […]
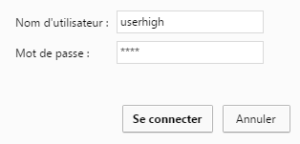
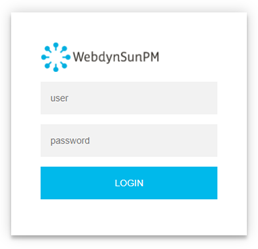 Les accès par défaut sont :
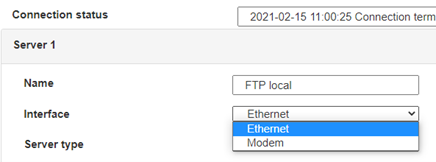
 Saisir le mode de connexion « Ethernet » ou « modem » :
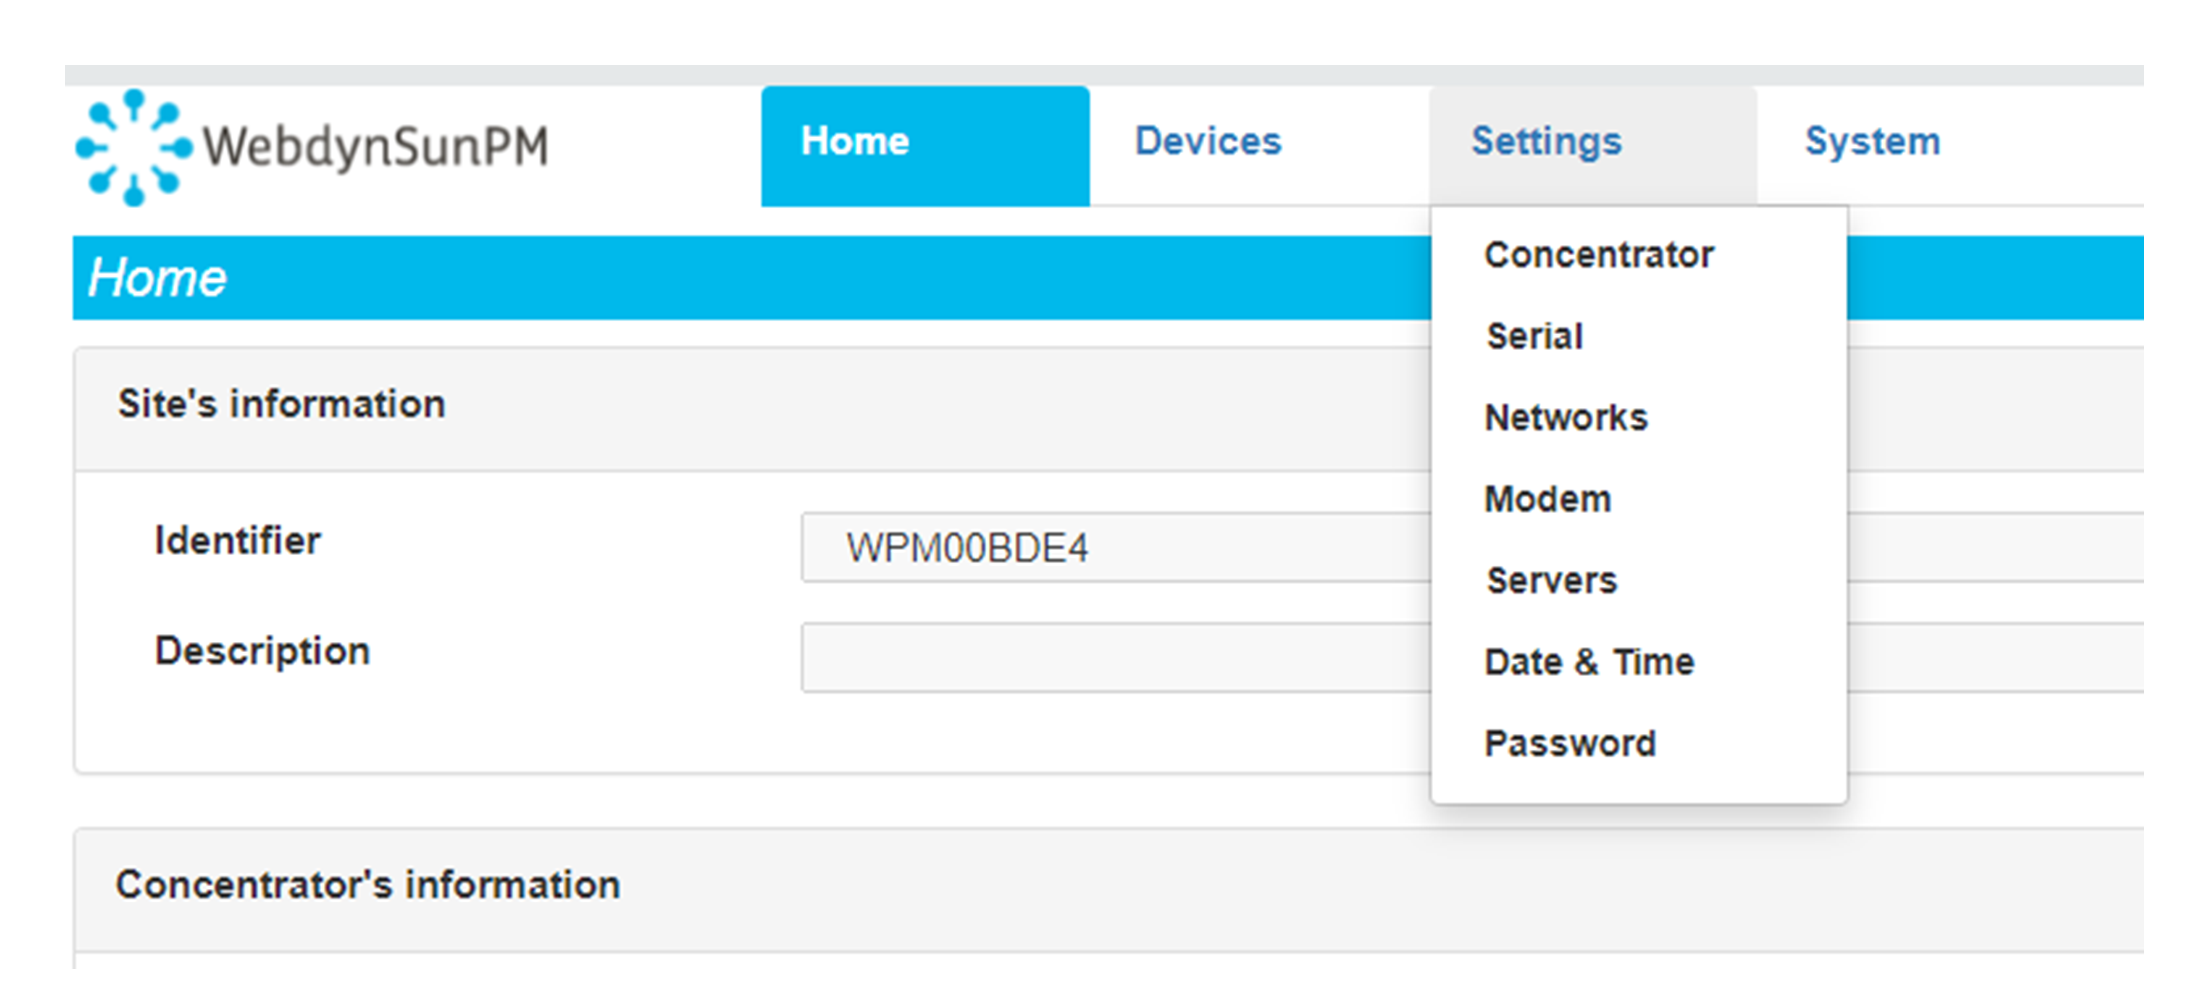
 Dans le cas d’une configuration par Ethernet, veiller à ce que les paramètres IP soient compatibles avec l’accès au serveur d’après la configuration du réseau local du concentrateur. Dans le cas d’une connexion par Ethernet, la configuration doit être compatible avec la topologie du réseau local du concentrateur afin qu’il puisse accéder aux serveurs. Cette configuration se fait via la page de configuration « Networks » (voir chapitre 3.2.2.3 : « Réseaux (Networks) »).
Dans le cas d’une connexion par modem, la configuration du modem doit être correcte avant de pouvoir effectuer une connexion. Cette configuration se fait dans la page de configuration « Modem » (voir chapitre 3.2.2.4 : « Modem »).
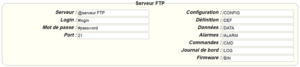
Les paramètres des serveurs à configurer au minimum sont les suivants :
Dans le cas d’une configuration par Ethernet, veiller à ce que les paramètres IP soient compatibles avec l’accès au serveur d’après la configuration du réseau local du concentrateur. Dans le cas d’une connexion par Ethernet, la configuration doit être compatible avec la topologie du réseau local du concentrateur afin qu’il puisse accéder aux serveurs. Cette configuration se fait via la page de configuration « Networks » (voir chapitre 3.2.2.3 : « Réseaux (Networks) »).
Dans le cas d’une connexion par modem, la configuration du modem doit être correcte avant de pouvoir effectuer une connexion. Cette configuration se fait dans la page de configuration « Modem » (voir chapitre 3.2.2.4 : « Modem »).
Les paramètres des serveurs à configurer au minimum sont les suivants :
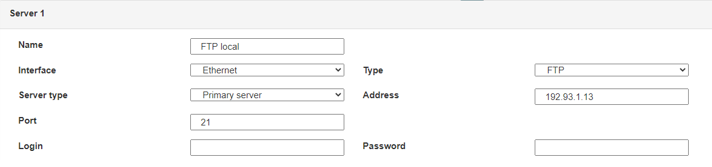 Il faut donc configurer les champs : « Interface », « Type », « Server type », « Address », « Port », « Login » et « Password ».
Les autres champs peuvent être laissés aux valeurs par défaut à condition que les répertoires aient été créés correctement auparavant. Voir chapitre 3.1.2 : « Fichiers de configuration » pour plus de détails.
Il faut donc configurer les champs : « Interface », « Type », « Server type », « Address », « Port », « Login » et « Password ».
Les autres champs peuvent être laissés aux valeurs par défaut à condition que les répertoires aient été créés correctement auparavant. Voir chapitre 3.1.2 : « Fichiers de configuration » pour plus de détails.




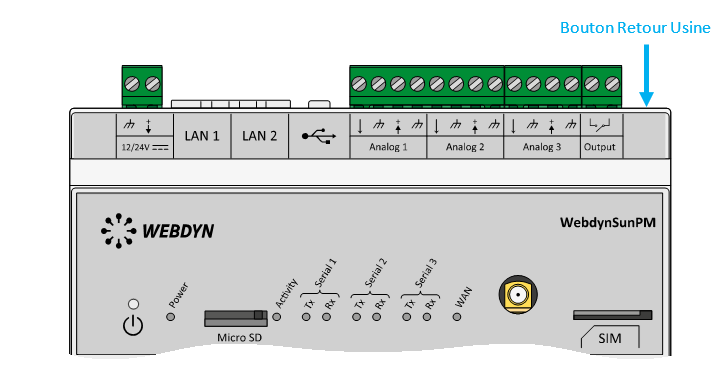 Attendre. Le concentrateur va redémarrer avec sa configuration usine.