Avete bisogno di un accesso permanente ai vostri dati ?
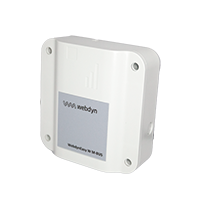
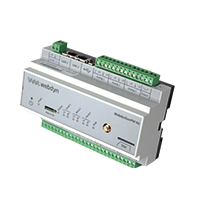
La nostra gamma di hub intelligenti multiprotocollo lo rende possibile interfacciandosi facilmente con tutti i vostri impianti fotovoltaici, le vostre reti di sensori e i vostri contatori (acqua, elettricità, gas).


Rimanete connessi ai vostri dati sul campo
Your data is worth its weight in gold.
Do you need permanent access to your data?
Our line of smart multi-protocol hubs make it possible by easily interfacing with all your photovoltaic installations, your sensor networks and your meters (water, electricity, gas).
Do you need permanent access to your data?
Our line of smart multi-protocol hubs make it possible by easily interfacing with all your photovoltaic installations, your sensor networks and your meters (water, electricity, gas).
-
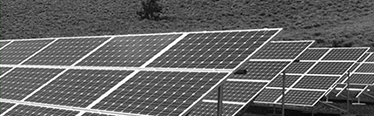
SMART GRID E FOTOVOLTAICO
-

CITTÀ INTELLIGENTI
-

EDIFICIO E CASA INTELLIGENTI
-

MISURAZIONE INTELLIGENTE
-

TRASPORTO INTELLIGENTE
-
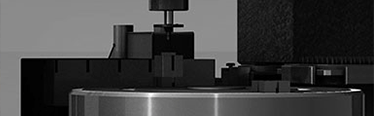
INDUSTRIA INTELLIGENTE 4.0


 Enter the “ethernet” or “modem” connection type:
 For an ethernet configuration, make sure the IP parameters are compatible with server access according to the concentrator local network configuration. For an ethernet connection, the configuration must be compatible with the concentrator’s local network topology so that it can access the servers. This configuration is done from the “Networks” configuration page (see section 3.2.2.3: “Networks”).
For a modem connection, the modem configuration must be correct before a connection can be set up. This configuration is done from the “Modem” configuration page (see section 3.2.2.4: “Modem”).
The parameters for the servers to be configured are at least the following:
For an ethernet configuration, make sure the IP parameters are compatible with server access according to the concentrator local network configuration. For an ethernet connection, the configuration must be compatible with the concentrator’s local network topology so that it can access the servers. This configuration is done from the “Networks” configuration page (see section 3.2.2.3: “Networks”).
For a modem connection, the modem configuration must be correct before a connection can be set up. This configuration is done from the “Modem” configuration page (see section 3.2.2.4: “Modem”).
The parameters for the servers to be configured are at least the following:
 Therefore the following fields need to be configured: “Interface”, “Type”, “Server type”, “Address”, “Port”, “Login” and “Password”.
The other fields can be left at the default values subject to the directories having been properly created beforehand. See section 3.1.2: “Configuration files” for more details.
Therefore the following fields need to be configured: “Interface”, “Type”, “Server type”, “Address”, “Port”, “Login” and “Password”.
The other fields can be left at the default values subject to the directories having been properly created beforehand. See section 3.1.2: “Configuration files” for more details.


 Wait. The concentrator will reboot using its factory configuration.


