Zum Hauptinhalt springen
Suchen Sie etwas anderes?
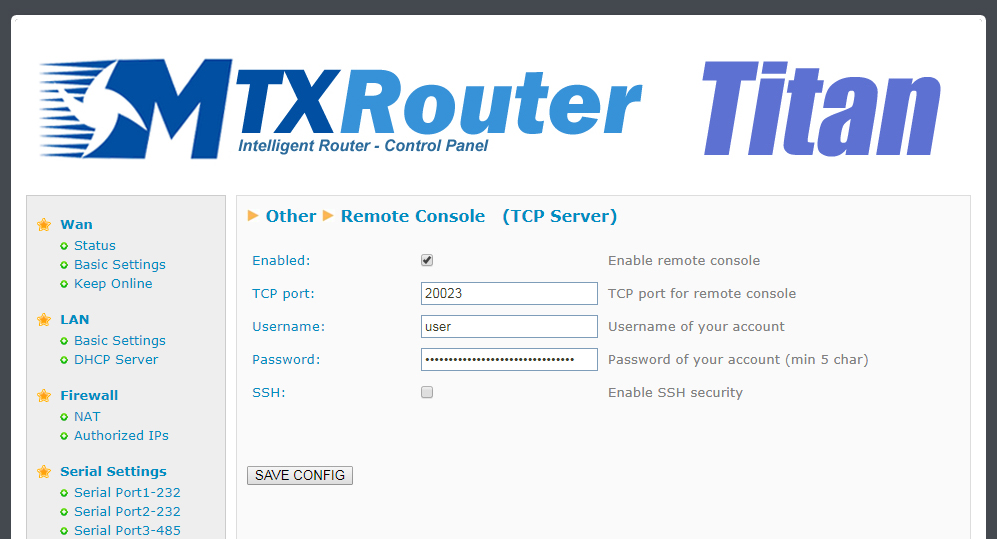
If at any time we need to carry out a special operation on the router via a Telnet-type connection, we can do so using this section. With this special connection we can send an SMS, change the router’s configuration, change a relay, etc. by sending AT commands via a Telnet-type connection.
- Enabled: activate this option if we want to use this special connection
- TCP Port: router’s listening TCP port where the connection should be made
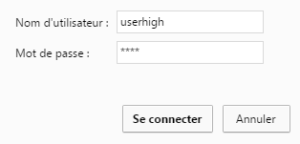
- Login: username that will be required after a connection is made
- Password: password that will be required after a connection is made
- SSH: activate this box if we want to use SSH instead of Telnet
ADDITIONAL NOTES
- Once the configuration is finished, click “SAVE CONFIG” to save the changes. Remember that the router should be restarted for the changes to take effect. In case we activate/deactivate the SSH box, let’s make sure we also re-enter the password
- The remote access to the console can be carried out on a local level (Ethernet or WiFi) or remotely via a 2G/3G connection
Remote console (TCP Client)
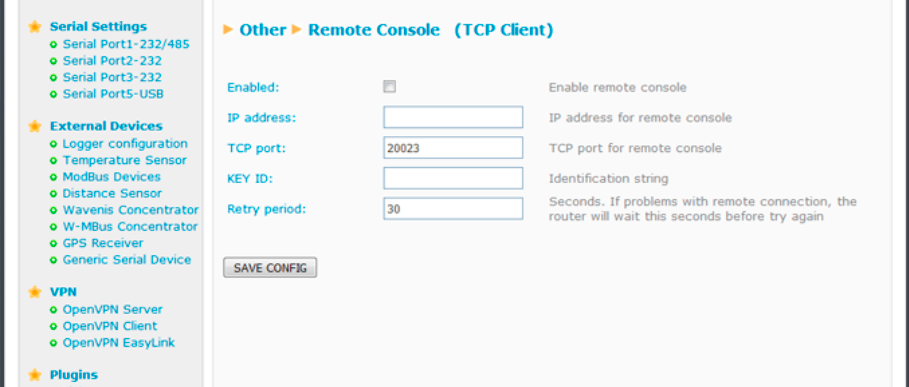
If we ever need to perform any special operations on the router through a “Telnet-like” connection, we can do so by configuring this section. That is, with this special connection we can, by sending AT commands through a telnet connection, send an SMS, make a change of router configuration, switch a relay, etc.
- Enabled: check this box if we want to use the remote console in TCP Client mode
- IP address: Remote IP address to which the Titan router will be connected.
- TCP Port: The remote TCP port to which the Titan router will connect.
- KEY ID: identifying text. The first will send the router through the socket.
- Retry period: Seconds. In case of socket drop, it allows to indicate the time to start a new connection attempt
ADDITIONAL NOTES
- Once the configuration is finished press the “SAVE CONFIG” button to save the changes. Remember to restart our router for the new changes to take effect.
- The AT commands sent in “TCP Client” mode, for reasons of compatibility, must be encapsulated between the
<MTXTUNNELR> </ MTXTUNNELR>tags. For example, to get the time:
<MTXTUNNELR> AT ^ MTXTUNNEL = GETTIME </MTXTUNNELR>

 Geben Sie den Verbindungsmodus „ethernet“ oder „modem“ ein:
 Stellen Sie bei einer Ethernet-Konfiguration sicher, dass die IP-Parameter mit dem Serverzugriff entsprechend der lokalen Netzwerkkonfiguration des Hubs kompatibel sind. Bei einer Ethernet-Verbindung muss die Konfiguration mit der lokalen Netztopologie des Hubs kompatibel sein, damit dieser auf die Server zugreifen kann. Diese Konfiguration erfolgt über die Konfigurationsseite „Networks“ (siehe Kapitel 3.2.2.3: „Netzwerke (Networks)“).
Bei einer Modemverbindung muss das Modem korrekt konfiguriert sein, bevor eine Verbindung hergestellt werden kann. Diese Konfiguration erfolgt auf der Konfigurationsseite „Modem“ (siehe Kapitel 3.2.2.4: „Modem“).
Die minimal zu konfigurierenden Serverparameter sind folgende:
Stellen Sie bei einer Ethernet-Konfiguration sicher, dass die IP-Parameter mit dem Serverzugriff entsprechend der lokalen Netzwerkkonfiguration des Hubs kompatibel sind. Bei einer Ethernet-Verbindung muss die Konfiguration mit der lokalen Netztopologie des Hubs kompatibel sein, damit dieser auf die Server zugreifen kann. Diese Konfiguration erfolgt über die Konfigurationsseite „Networks“ (siehe Kapitel 3.2.2.3: „Netzwerke (Networks)“).
Bei einer Modemverbindung muss das Modem korrekt konfiguriert sein, bevor eine Verbindung hergestellt werden kann. Diese Konfiguration erfolgt auf der Konfigurationsseite „Modem“ (siehe Kapitel 3.2.2.4: „Modem“).
Die minimal zu konfigurierenden Serverparameter sind folgende:
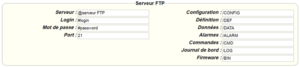
 Diese Felder müssen konfiguriert werden: „Interface“, „Type“, „Server type“, „Address“, „Port“, „Login“ und „Password“.
In den übrigen Feldern können die Standardwerte beibehalten werden, solange die Verzeichnisse zuvor korrekt angelegt wurden. Weitere Einzelheiten siehe Kapitel 3.1.2: „Konfigurationsdateien“.
Diese Felder müssen konfiguriert werden: „Interface“, „Type“, „Server type“, „Address“, „Port“, „Login“ und „Password“.
In den übrigen Feldern können die Standardwerte beibehalten werden, solange die Verzeichnisse zuvor korrekt angelegt wurden. Weitere Einzelheiten siehe Kapitel 3.1.2: „Konfigurationsdateien“.


 Warten Sie. Der Hub startet nach ein paar Augenblicken mit der Werkseinstellung neu.